-
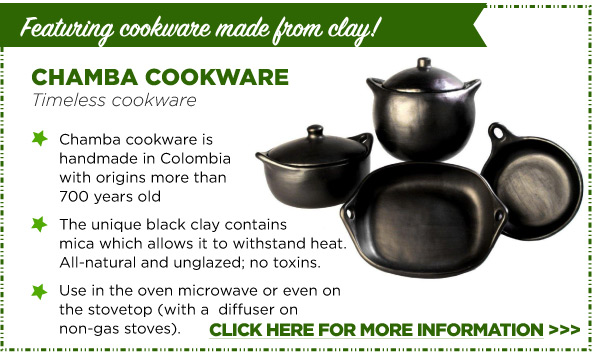
Chamba
-
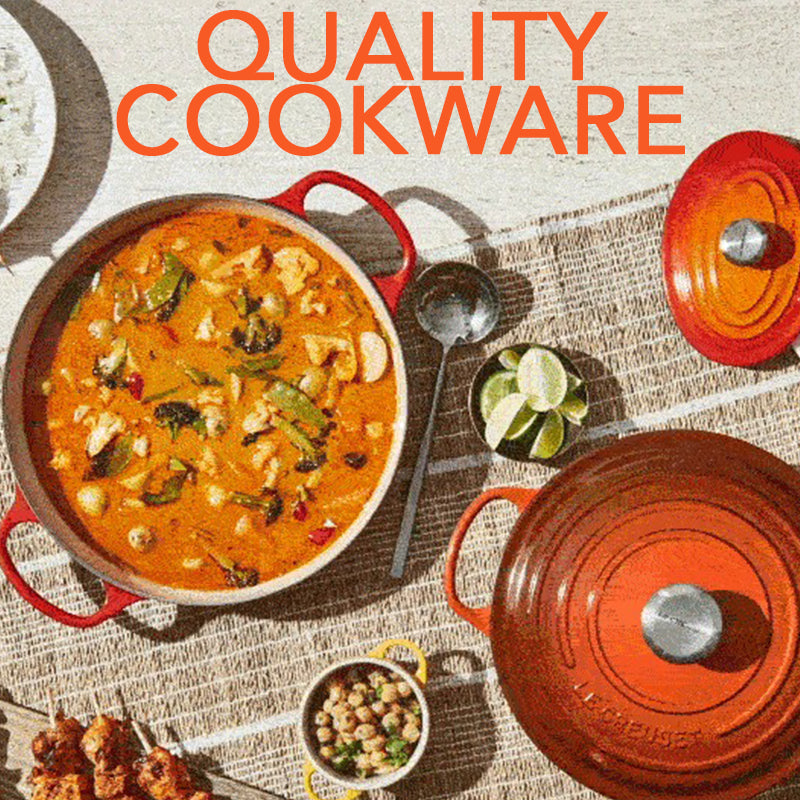
Cookware
-
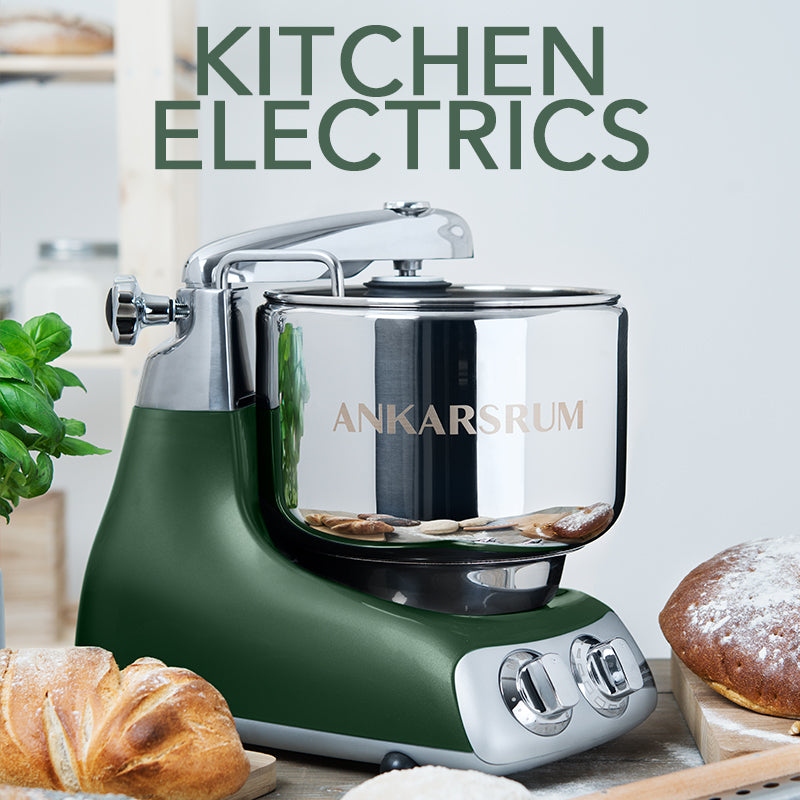
Appliances
-
Cutlery
-
Kitchen Tools
-
Bakeware
-
Table/Bar
-
Food
-
Collections
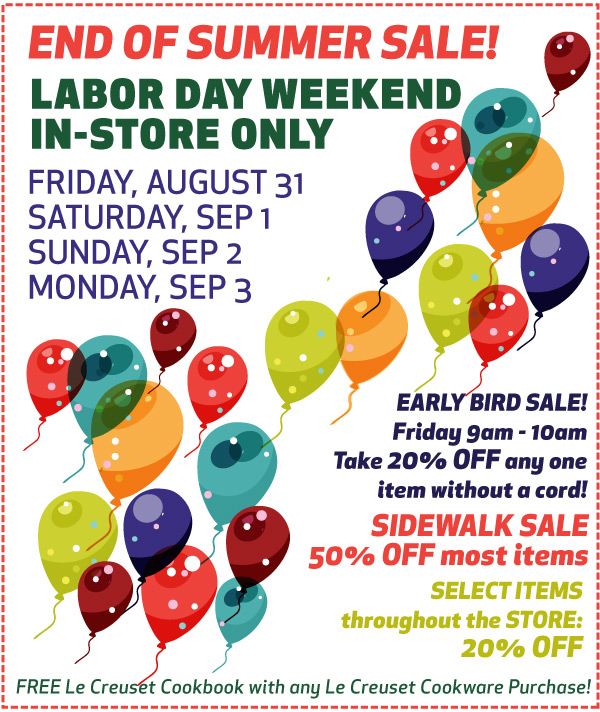
- Sale


Buy In-store or Online
Pickup Santa Cruz,
In-Store or Delivery


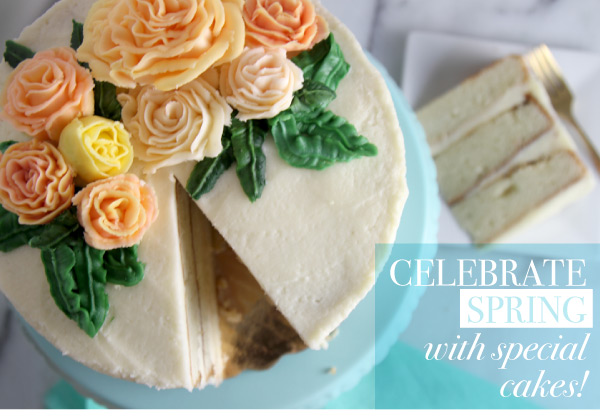


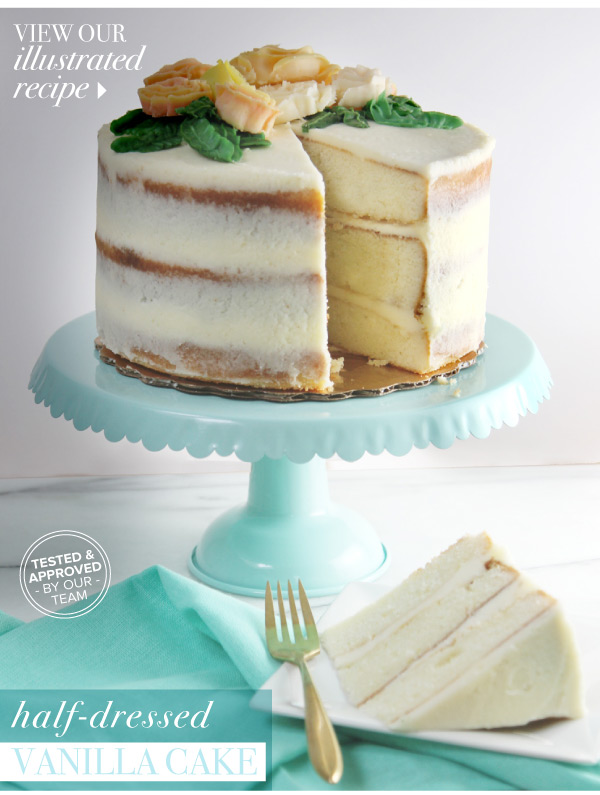
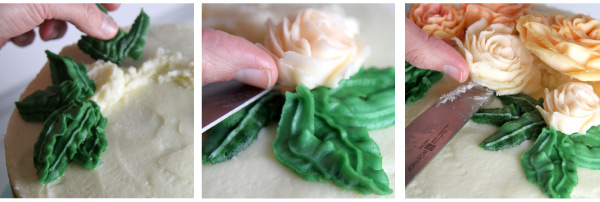
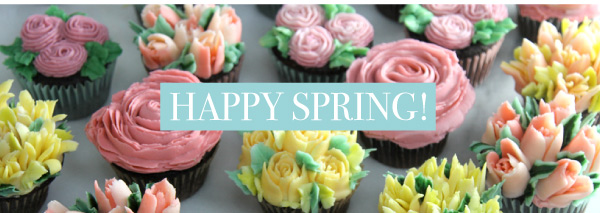
 Quality baking